Hi..
Happy July it's the new scrap the girls challenge
This month we have a fabulous sketch
Here is what I came up with I went with a light colour palette
using crate paper Hello Love paper pad
using a prima stencil i added a light blue to texture paste and applied it in 3 spots on my background
i layered patterned papers and added a doily die cut ,pink flower and a leaves silhouette cut
Purchase
i also layered pattern papers under my photo and made a tag to go behind my photo
and added a few little things Perls and butterfly
Crate Paper - Hello Love paper pad
DD776 Ornate Charm Die
Prima Flowers Salvage District #586461
prima 6x6 Stencil Tubaroses #579937
SB789 Pearls - Chino
Hi
Today I'm sharing 2 creations I created for Kaisercraft for our wedding blog post.
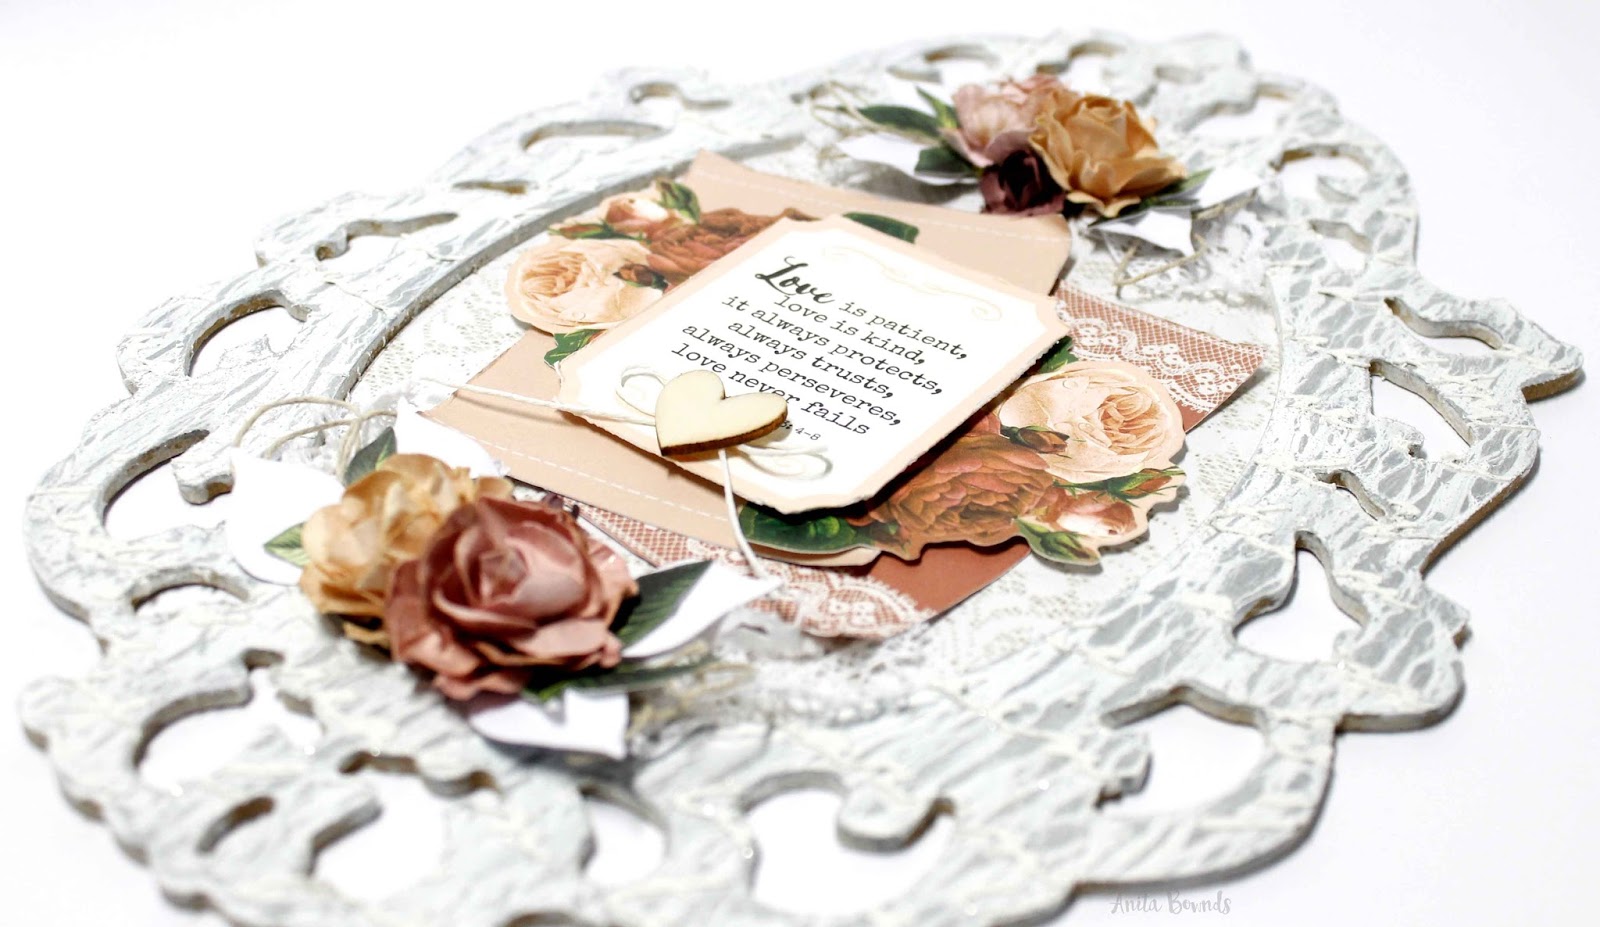
My first one is a frame using the kaiserdecore vintage small frame
I added gesso to the frame then silver paint letting it dry a little before covering it in a thin layer of glue and then once the glue was a little tacky, painting over it with white paint then hitting it with the heat gun. I waited for the cracking of the paint then I used a stencil and applied modelling paste giving it that extra texture ,after that was dry I painted the frame with a glitter glue paint and then decorated inside the frame
KD352 Kaiserdecore Vintage small Frame |F628 Paper Blooms - Honey
F641 Paper Blooms Dusty Pink |F654 mini Bloom Aubergine
FL575 Flourish Pack - Wedding |IT903 Designer Template Script
EM926 Lace Pack White |CT856 Collectables |P2094 Endless Love |P2089 Romance
Other:gesso |silver paint | twine | Silhouette cut leaves
My next one is a tag I like combing 4 different patterned papers for my layers on my tag
Starting with the base , machine stitching and a little bit of distressing along with a die cut doily and some other embellishments
"A True Love Story never ends" Tag By Anita Bownds
P2089 Romance |P2091 Loveble |P2093 Admire
PP997 Paper Pad |CT856 Collectables |DD555 round fancy frames
F637 Paper Blooms Aubergine |EM926 Lace Pack White
T303 foam tape |KM111 Kaisermist White
Other Twine| Machine Stitching
Hi everyone
Anita here sharing my projects for April
I absolutely adore the cottage rose collection with all the pinks ,greens and shades of grey
Perfect for scrapbooking those sweet girlie photos
***
I started off by wanting to use a the script stencil on my White background
I mixed a little bit of candy mist with a bit of impasto
Then I wanted to add big heart cutout in pink to pop from the White background
So I designed a heart cut file to cut out as my main using 2 patterned papers and machine stitched them together
Cut file available in my shop
I layered a few patterned papers and collectables behind my photo
Along with a bit of vellum and a doily
Then I fussy cut some flowers and added them top and bottom of my photo just tucking one
Just under the photo layers then I added a circle sticker from the sticker sheet for my title and to finish it off I added some pearls top and bottom of my layout
"Love This" Layout By Anita Bownds
P2078 Fragrant|P2075 Weatherboards |P2072 Wallpaper |CD101 kaisercard weave coconut
P2070 Floral Bouquet |SS311 sticker sheet |KM115 Kaisermist Candy
IT903 Designer Template Script |SB716 Pearls - blush |EM405 paper dolies
other: cotton | silhouette cut |impasto |vellum |paperclip
***
"With Sympathy tea cup" card By Anita Bownds
here is a card i made using a Tea Cup Cut File you can download it from my blog
i love the soft colours in this collection lots of pinks and greens makes you thinks of vintage tea party's!
Close up of my card
here is a process video of my card
PP995 paper pad |CD101 kaisercard weave coconut
F640 Paper Blooms - Fairy Floss |IP725 Ink Petal Pink
DD757 Decorative Die large flourishes |DD765 Decorative Die Comfort pack
DD312 Decorative Dies - leaves
other:silhouette cut
***
With this layout I wanted to combine both collections
Cottage rose and sea breeze
I wanted to use a patterned paper from the sea breeze to add behind my silhouette cut design
You can find my cut file here
I loved Mixing up the blue and the pink
I used a strip of one of the patterned papers from the cottage rose collection
I cut the corners and punched a little circle turning one end into a tag and using the scalloped card edge die I die cit the bottom of the strip
Then I added my laters behind my photo using pink patterned paper from the paper pad
Some vellum and I die cut one of the round fancy frames in White cardstock
I also added some collectables tucked in my layers along with a border sticker
And a sticker for my title
"In these Moments Time Stood Still" Layout By Anita Bownds
P2018 waterfall |CT854 collectables |SB716 Pearls - blush |CD101 kaisercard weave coconut
PP995 paper pad |P2072 Wallpaper |DD555 round fancy frames|SS310 Sticker sheet
DD523 Decorative Die Card creations scallop card edge
other: silhouette cut |vellum | paper clip
And here is a card I created playing with the stamps and paper pad
"Happy Birthday" Card By Anita Bownds
CD501 White cards |T303 foam tape |SB794 Pearls - Snow
DD555 round fancy frames |PP994 paper pad |CS253 clear stamps
F648 Mini Blooms - Sea Breeze |F631 Paper Blooms - Sea Breeze
other:copics
and here is another look at a card i made for the sea breeze post
and here is my process video of colouring the stamps
PP994 paper pad |CD501 White cards |T303 foam tape |CS253 clear stamps
other: machine stitching |copics
Thanks for looking
Hi ...
sharing a layout today for couture creations
using more ultimate crafts magnolia lane and the lovely dies
I started off by selecting a bit of pattern paper
And using some texture paste I lightened the center of the pattern paper
Then I cut out a design with my cameo on some white cardstock and trimmed the edges and glued and machine stitched around the edge to add a border
fussy cut flowers,leaves,birdcage and add some layers behind the photo using the square magnolia frame die and other bits of patterned paper
Add a few butterflies from the ephemera pack
Die cut the magnolia corners die adding them to 2 corners of the photo
Embossed chipboard word with embossing powder and glue down title
Happy crafting everyone I hope you ave enjoyed my creation.
Here are the products I've used
ULT157485 Magnolia Lane 12x12 paper pad
ULT157530 Sqare Magnolia frame die
ULT157528 Magnolia corners die
ULT200008 cardstock white
UTL157515 Magnolia Lane diecut ephemera
Hi..
Today I'm sharing my December creations
With the lovely new collections From Kaisercraft
I started on the background of this layout I wanted to use a pattern that I designed in Adobe Photoshop called diamonds
I cut out the pattern with my silhouette cameo then I flipped the background over and cut patterned papers pink and yellow to fit over the cutouts
Then after I was done gluing all them down I started on my photo layers
And tucking in collectables in my layers
Here is the link to my cut file
After I finished with my photo layers I added some rhinestones to the centers of the diamond
Next I wanted to add my title using the alphabet die
Using the paper pad I cut 2 sets of my title and offset it so that it looked liked it had a shadow
DD735 Decorative Dies Uppercase Alphabet |PP987 paper pad
CT846 collectables |P2011 recall |P2012 timeless
P2014 nostalgia |P2007 memory |P2009 wonder |CD101 kaisercard weave coconut
SB700 Rhinestones silver | T314 Double sided tape
other : silhouette cut
With layout I wanted to use my year my story collection on a layout
i chose the mint and pink colours
And collectables and stickers to complete my page I kept the layout simple as the colors are pastel
You can find my cut file here
I added 2 of my cut file roses one tucked under my photo layers
and the other just tucked under the corner of my photo
AS251 Alpha stickers ebony |CD101 kaisercard weave coconut
SB718 Pearls - Bliss |PP986 paper pad |CT845 collectables
P1998 minty |P1999 raspberry |SS302 sticker sheet
KM116 Kaisermist Aqua |KM117 Kaisermist Apple
other : silhouette cut
This layout was inspired by all the roses in the collection and the pretty butterflies
And of cause me missing my oldest daughter mel
I started by matting my cardstock on patterned paper
And cutting out my cut file with my silhouette cameo using the pinky red patterned paper
You can find my cut file here
I used some of the patterned paper from the paper pad and tucking some collectables
Under my photo layers and a few over the corner of my photo
I then stamped the title on my cardstock
and the butterfly on some patterned paper from the paper pad and embossing it with light pink
And adding pearls and a few flicks of mist
CS246 clear Stamp |P2009 wonder |P2010 flashback
PP987 paper pad |CT846 collectables | SB716 Pearls - blush
KM112 Kaisermist Winter Grey |Km101 Kaisermist charcoal
other : silhouette cut | embossing powder |machine stitching |paperclip
Ok lots of photos ahead!!
So I only done took photos of the 5 months as their would have been to many photos to edit..lol
I had another play around with the my year my story collection
This time making my own planner using the 3 window album without the 3 window panel
I started by cutting all the patterned papers up to fit in the album
and using the pockets that comes with the album and a few I already had
I had enough pockets to do 2 for each month
I also cut some of the papers from the paper pad and added them in the planner
Along with using the sticker sheet with the months
SB2296 3 window Display Album
P1998 minty | P1999 raspberry |P2000 cactus |P2001 shineP2002 lilac |P2003 peachy |P2004 good & bad |P2006 to do
SS301 sticker sheet months |SS302 sticker sheet |CS245 clear stamps
PP986 paper pad |CT845 collectables | PT230 Lilac glitter tape
other : silhouette cut |staples
I hope you have enjoyed looking at why I created this month
Happy crafting ..xx